Row By Row Round Robin?
- cknox1025

- Jun 23, 2024
- 3 min read
One of the most fun projects I've done has been with a group of quilting friends. We did a Row by Row Round Robin. You might wonder: What is that?!

It is a collaborative quilting project where each participant contributes a row to another person's quilt. The group decides how often they will meet and commit to having the row completed. The process begins with each quilter creating an initial row and then the row is passed to the next quilter, who creates and adds their own row. This continues until the quilt top is complete.

To start, each quilter collects:
1. A box or container for their project
2. A journal to communicate with the other quilters in the group
3. Fabric or items they want used in the rows.

Structure of a Round Robin
Forming the Group
Typically a Round Robin involves a group of 5-10 quilters. As a group they must decide how often they will meet with their round of the project completed. All quilters involved must commit to completing their part. In addition, each quilter must create the initial row and decide the theme and color palette for their quilt. These parameters should be written in the notebook for the other quilters to read.
Setting the Guidelines
Clear guidelines are essential! This may include the size of the rows, a particular technique used and any specific design elements. Some groups like more freedom, others like more structure.
Passing the Rows
The boxes/containers are passed in a pre-determined order. Each participant adds a new row to the quilt they receive. The row should harmonize with the existing rows and add a unique touch. The idea is that everyone involved works on everyone else's quilt.
The Return and Reveal
Once the quilts have made the full round, each quilter received back their original quilt top now transformed by the contributions of the group. It is the most fun to see not only what your own quilt looks like, but the others as well.

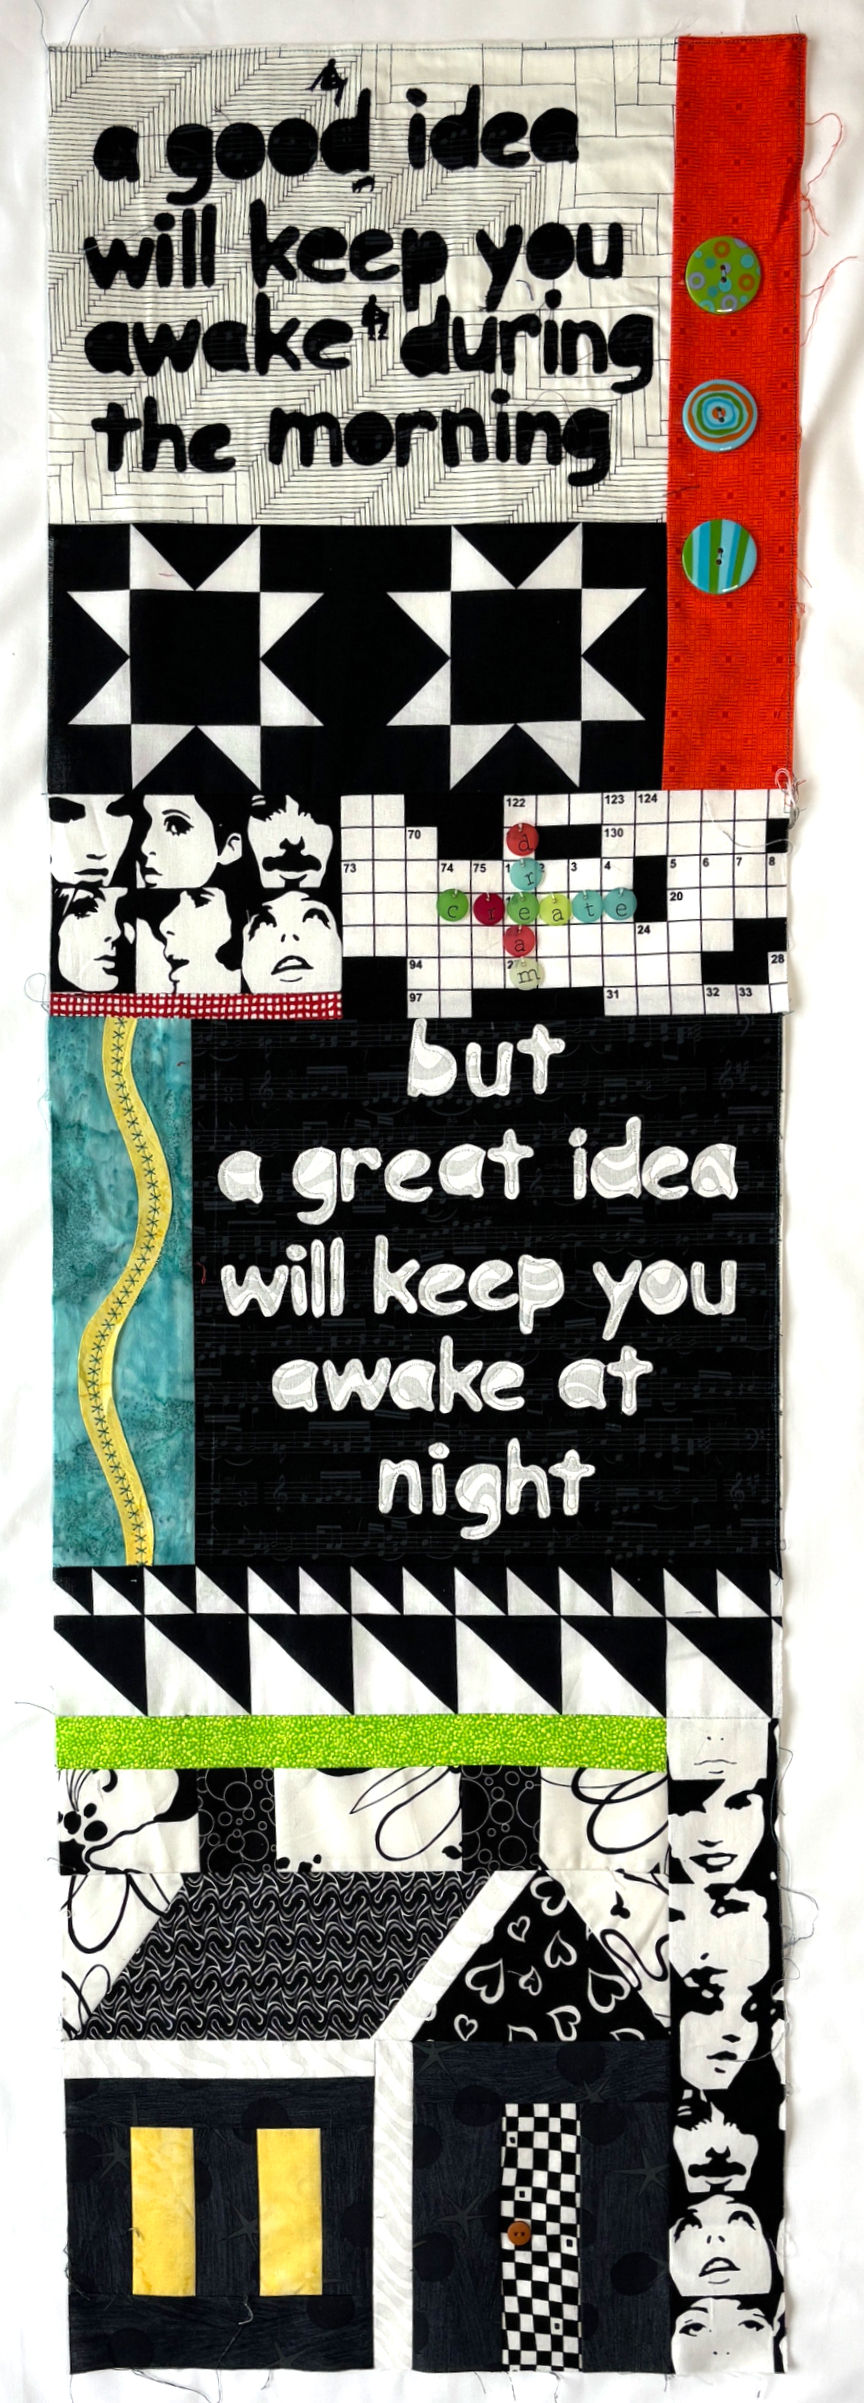
The examples you see in this post are some of the rows that came back in my Row by Row. Here is what we decided:
- We met 1x/month
- We wrote out who each person passed their container to
- We decided not to attach the rows - the arrangement
would be up to each individual
- The initial Row was in the box
- Row 2 was to be pieced and to make a label
- Row 3 Paper-pieced
- Row 4 Stars (This could be in the fabric or a pieced block)
- Row 5 Quilter's Choice
- Row 6 Applique
- Row 7 Square in a Square
Tips for a Successful Round Robin
Communication -
Being at each meeting is important to pass the container to the next person and to ask any questions and resolve any issues that come up.
Consistency -
Commit to using similar quality fabrics and seam allowances the maintain the overall quality and cohesiveness.
Flexibility -
Allow some room for creative expression and problem-solving. Some quilters have skills that you may not, and this allows those skills to be included in your quilt. Keeping a journal with each quilt where quilters can write notes or share thoughts about their process adds a personal touch and a narrative to the quilt's journey.

A Round Robin is a wonderful way to showcase the collective creativity of the group. Each quilt tells a unique story with each quilter contributing to that story. Quilters bring their own view and skills to the project. It also allows each quilter to grow in an area that they may not have considered before. It could be working with a different color palette, a different technique or method. I know that my row by row really challenged my friends as my parameters weren't typical and allowed for a lot a freedom. It was so much fun and we all had a project and a great memory of each other!
If you have already done a Round Robin, please write and tell me about your experience. If you haven't done one let me know if you have any questions! You can reach me at cdkstudio61@gmail.com

Quilt with joy!
Caroline


Comments